Why Is My Faucet Dripping? The Fix That Takes About 20 Minutes
A dripping faucet is almost always a worn washer, O-ring, or cartridge inside the handle. Replacing the worn part costs $5 to $20 and takes about 20 minutes once the water's off. If a new part doesn't stop the drip, the valve seat itself may be worn, which is still doable but a bit more involved.
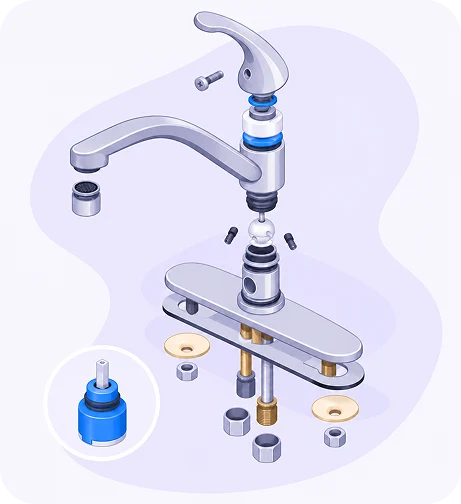
Why faucets drip: washer, O-ring, or cartridge
Every faucet has a mechanism inside the handle that controls water flow. Older two-handle faucets usually have a rubber washer pressing against a valve seat. Most modern single-handle faucets use a cartridge, a ball, or a ceramic disk instead. They all wear out the same basic way, the rubber or seal degrades over time, or mineral deposits from hard water keep it from sealing completely.
A faucet dripping at about one drip per second wastes more than 3,000 gallons of water a year, according to the EPA's WaterSense program. Not urgent, but it adds up fast on a water bill.
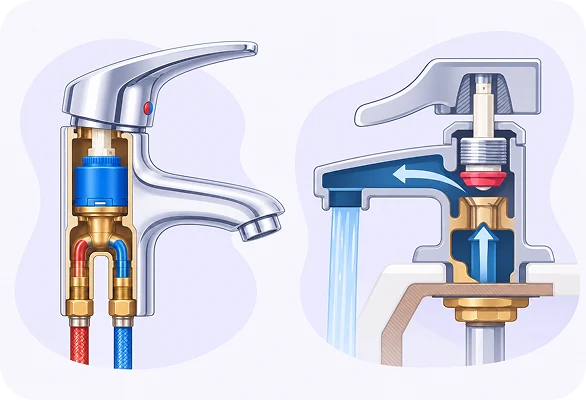
Diagnose How to tell if you have a compression or cartridge faucet
Two handles, one for hot and one for cold, usually means a compression faucet with a washer inside. A single handle that moves side to side or up and down usually means a cartridge, ball, or disk faucet. The repair is similar either way, the main difference is which part you're replacing.
Repair How to fix a dripping faucet, step by step
Plan on about 20 minutes and $5 to $20 in parts. You'll want an adjustable wrench and a screwdriver.
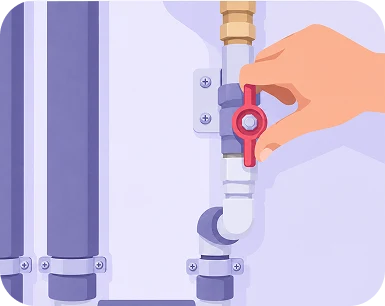
Step 1 Turn off water
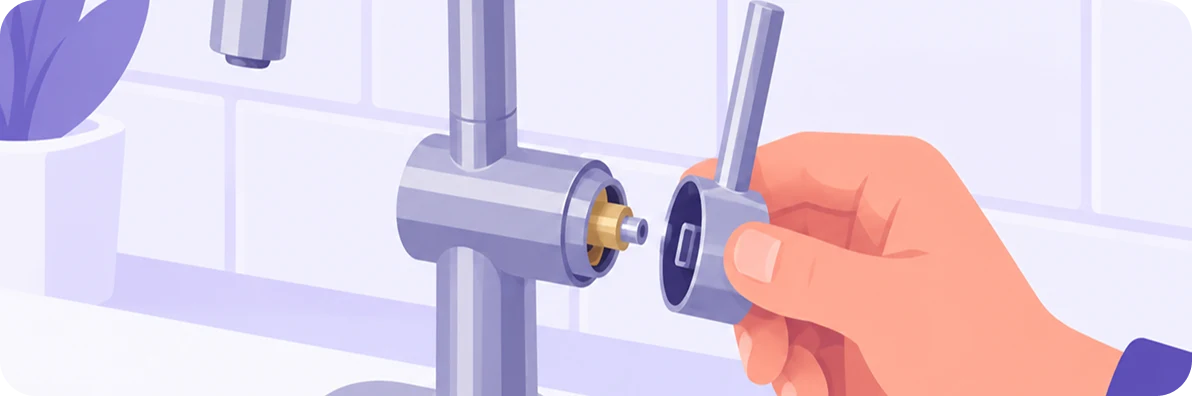
Turn off the water at the shutoff valves under the sink, then open the faucet to release any remaining pressure. Plug the drain or lay a towel down so you don't lose small parts. Pop off the decorative cap on top of the handle, unscrew what's underneath, and lift the handle straight up. Unscrew the retaining nut and pull out the cartridge or stem, then look at the washer and O-ring at the base, flattened, cracked, or rough means you've found your problem.
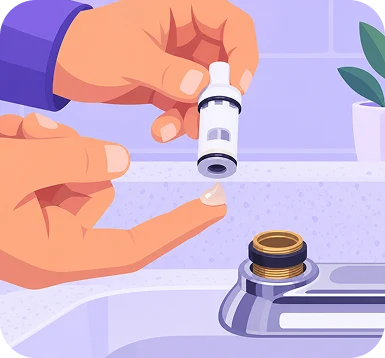
Step 2 Replace, repair
Replace the worn parts (bring the old ones to the hardware store to match sizes, or photograph your faucet's brand and model if you know it), reassemble in reverse order, and add a light coat of plumber's grease to the new O-ring so it seals well and lasts. Turn the water back on slowly and test. If it still drips a little, check that the handle's fully tightened.
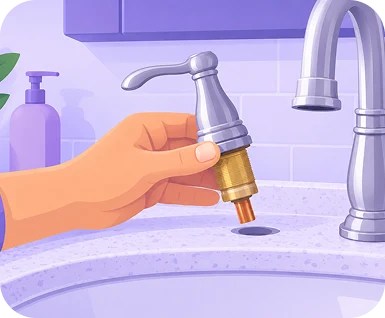
Step 3 Still dripping after you replace the washer? Check the valve seat
Occasionally the valve seat itself, the part the washer presses against, is worn or corroded and needs resurfacing or replacement. Still within DIY range for most people, just a bit more involved. And if the leak's coming from around the base of the faucet rather than the spout, that's more likely a loose supply line, wrapping the threads with plumber's tape often solves it on its own.
How to stop hard water from causing the next drip
Hard water buildup is the main long-term cause of faucet wear. An occasional vinegar soak of the aerator, the small screen at the tip of the faucet, cuts down on mineral buildup and extends the life of the parts inside.
Describe the drip, or add a photo of your faucet, and FinderlyFix will tell you whether you're looking at a compression or cartridge faucet, which part's likely worn, and exactly what to buy.
Not sure what you're looking at? Snap a photo and FinderlyFix will tell you what's wrong, what it should cost, and what to do next.
Try FinderlyFix